So I did not intend to go soooo long without posting. You know the deal.. life happens between my full time job, being a wife and mommy, and owner of two part time businesses.. blog posting got pushed to the back burner. But I am going to make a greater effort to blog since most outside of my Etsy shop when I post scrapbooks, I don't get a chance to showcase them any where else. Which leads to tonight's post. Showing off one of my favorite designs for scrapbooks, the photo folio!
A photo folio is a low profile scrapbook that is more about the pictures than the embellishments but that doesn't mean that they aren't as cute. So with a photo folio paper choice is EVERYTHING!!! I like to use the paper packs/collections that have bold prints and lots of designs in the collection. Some collections you get maybe 6 to 12 designs which works fine for scrapbooks, but with folios since the focus is more on the pictures and thus you see the paper, having lots of coordinating designs is key (at least in my opinion and design style:)). Typically in my experience, the thicker paper pads the thinner the paper the design is printed on, so that is why using higher quality base cardstock is keep in creating a sturdy photo folio. You want it to last a long time and not tear after you put in all of those hours making it. I also learned that using a cardstock that folds easily will make your life easier and prevent cracking. The thinner cardstocks typically doesn't crack. The thicker ones or ones with glitter on them do.. so I tend to use those in some of my other scrapbooks.
So now that you have a general idea of what a photo folio is, let me show you the first one that I created:)

This photo folio has a magnetic closure since I wanted to keep it low profile and not use a traditional ribbon closure. Its size is 7 x 9 to hold a variety of photos. I put some embellishments on the front like keys and cut outs from the paper collection.

This is a close up of some of the paper flowers I made and some of the keys I used.

More coordinating paper flowers and a cut out from the paper collection finishes off the front cover. I used flat back pearls and rhinestones as the centers of each flower.

I used the same paper pattern on the inside front and back cover of the folio and used cut aparts to make tuck spots for smaller photos or to write details about the photos you can place on the inside covers.
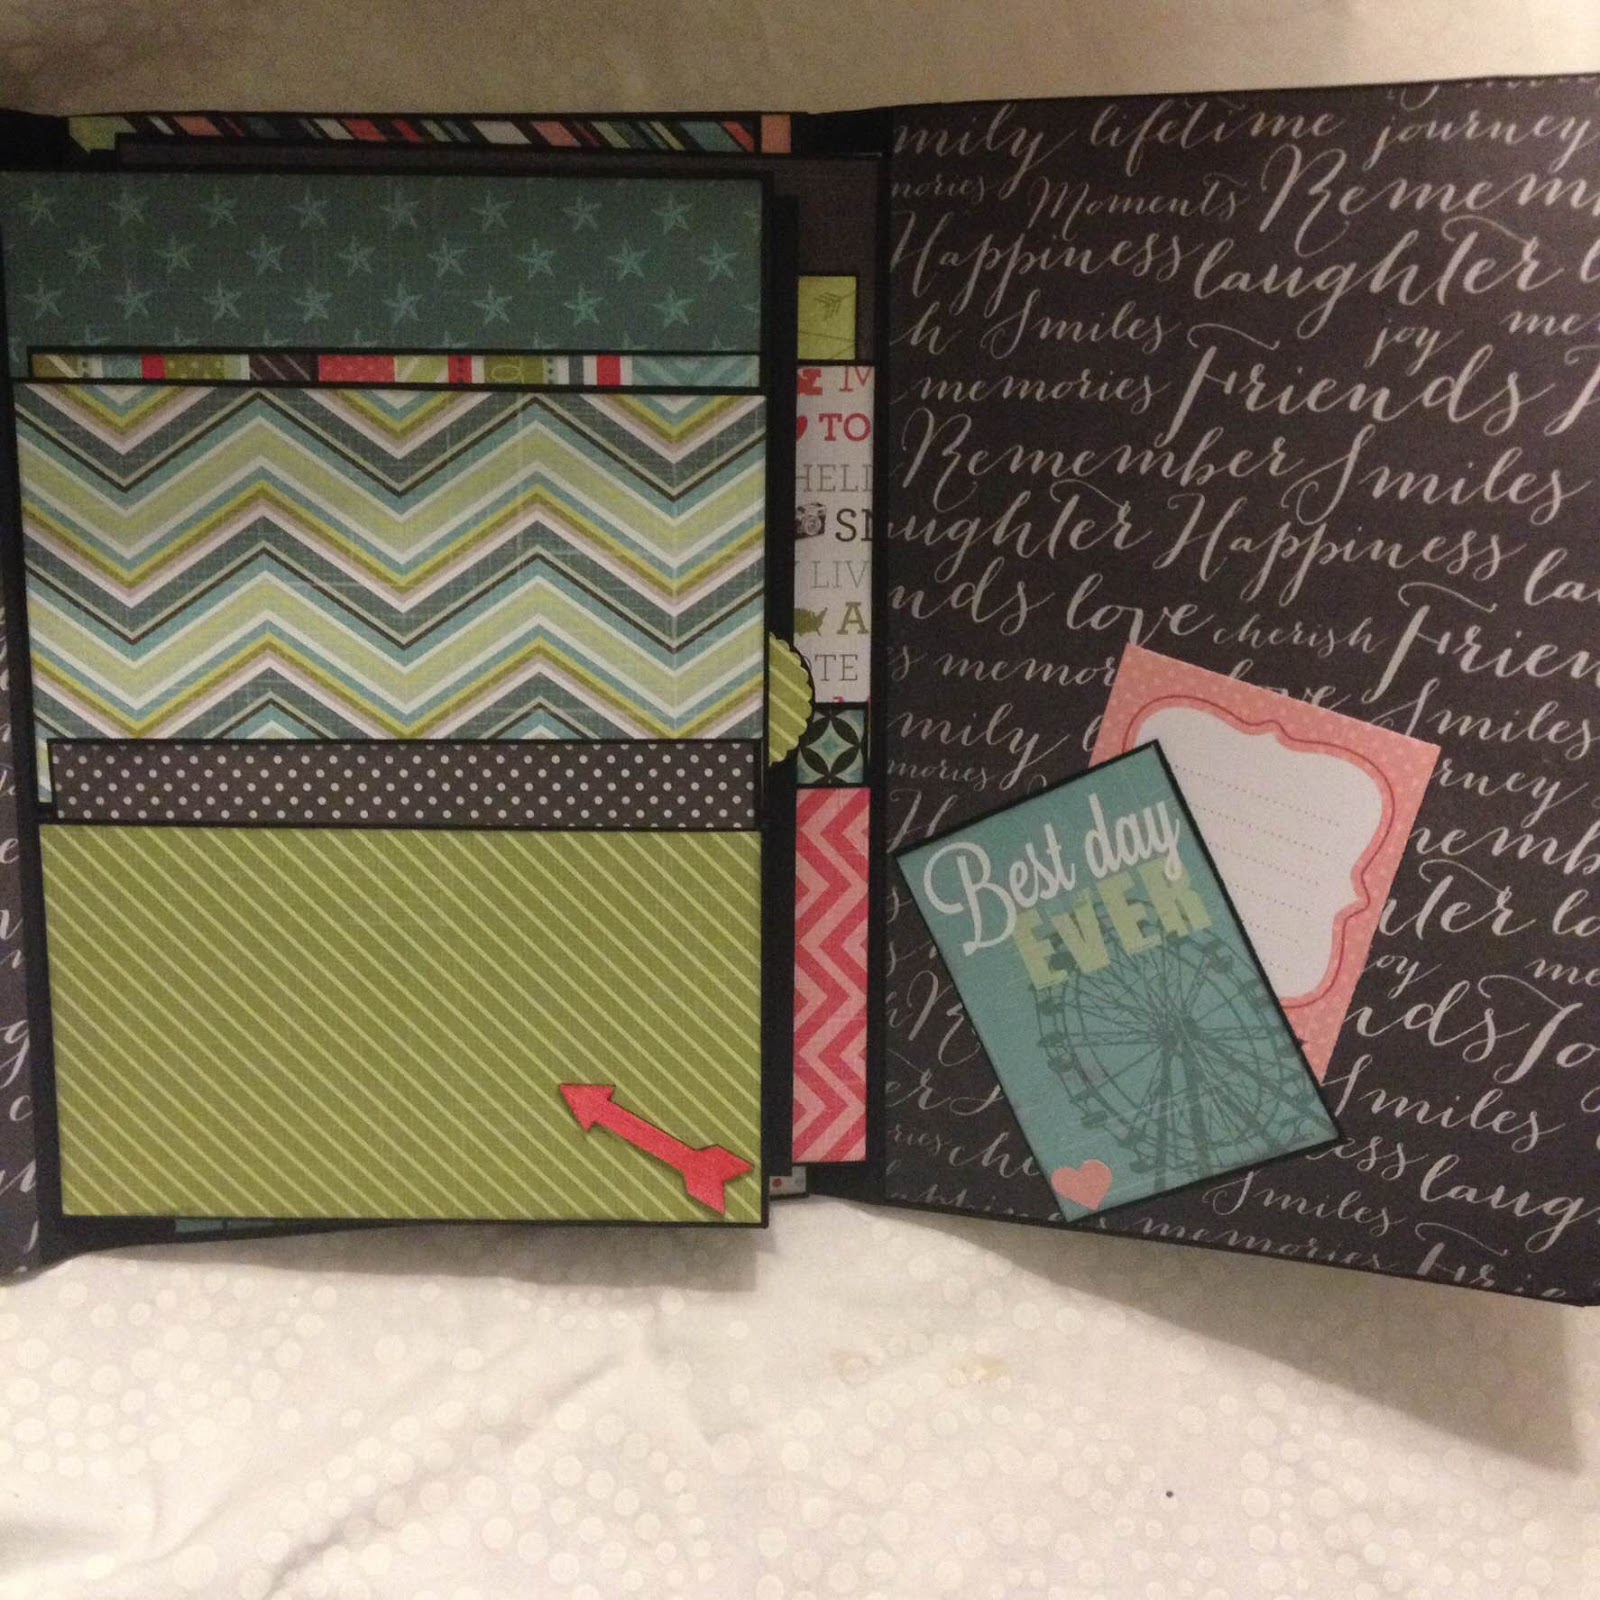

This folio is full of flaps and different size pockets to fit a variety of photo sizes from 3 x 4 to 5 x 7 they can all fit in this folio. Since the folio is all apart being low profile, you can't add too many embellishments because it will bulk it up and it won't lay right so I used very few embellishments like the wooden arrow and heart that I colored with Spectrum Alcohol markers to match the colors scheme of the paper collection. I also paper clips for extra spots to tuck photos in.


This is center portion of the folio. I created two sets of waterfalls in different sizes to add some interest. I used magnetic closures for to keep the waterfalls in place.
I ended up giving particular photo folio to one of my best friends which she absolutely loved! I have a done a few more since this one, making modifications along the way. With folios you can create a number of them with each one being slightly different in terms of the number of photos it holds as well as interactive elements.
Next post I will be show casing another photo folio but this one has some extra special features to it that I made for my son's teacher.
Until next time...
No comments:
Post a Comment